
Making My First Leather Belt

One of the perks of working for George Barnsley is the opportunity to learn from people like Nigel Armitage. For those who don't know Nigel, he's one of the best-known leathercraft instructors in the UK and has helped thousands of people learn the craft through his workshops and online videos.
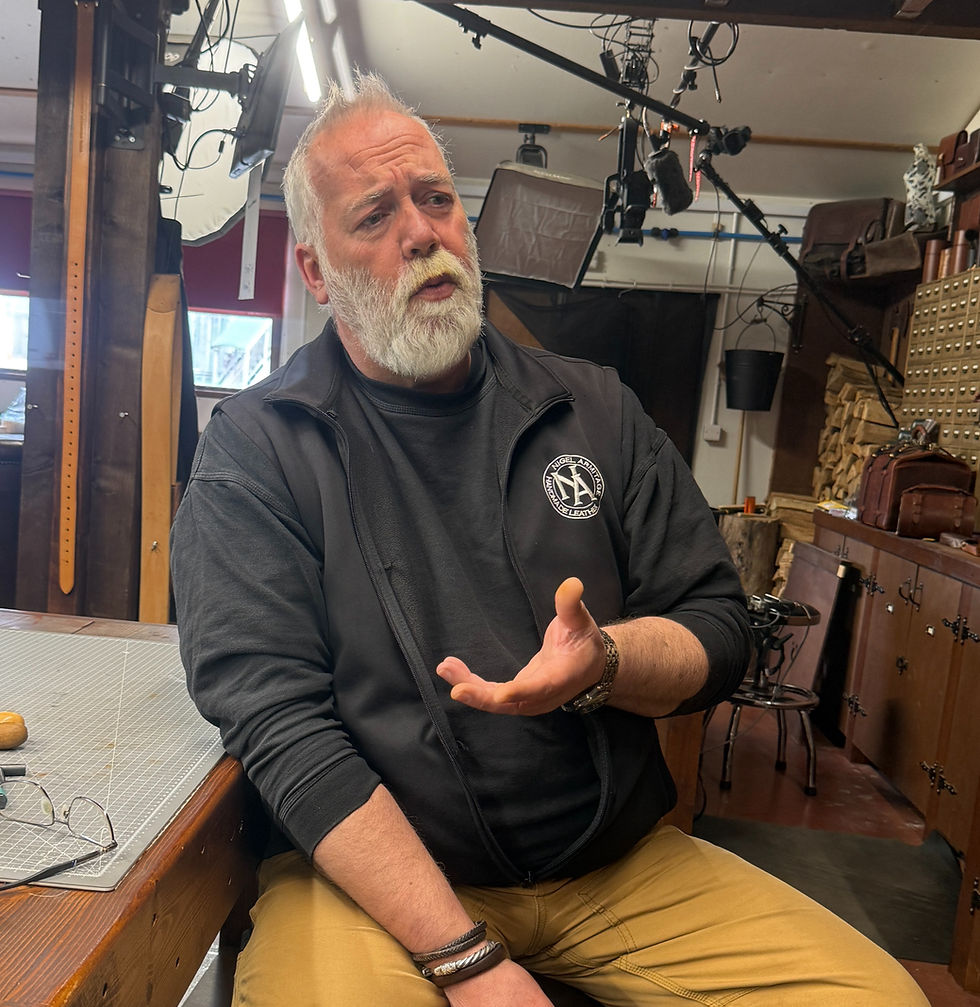
We make tools for leatherworkers every day, but I'd never actually made a belt myself. It seemed like a good opportunity to see what our customers do with the tools we make, and there's nobody better to learn from than Nigel. Across two visits to his workshop in Yoxall, Burton-on-Trent, he walked me through the whole process.
Who knew there were so many options?
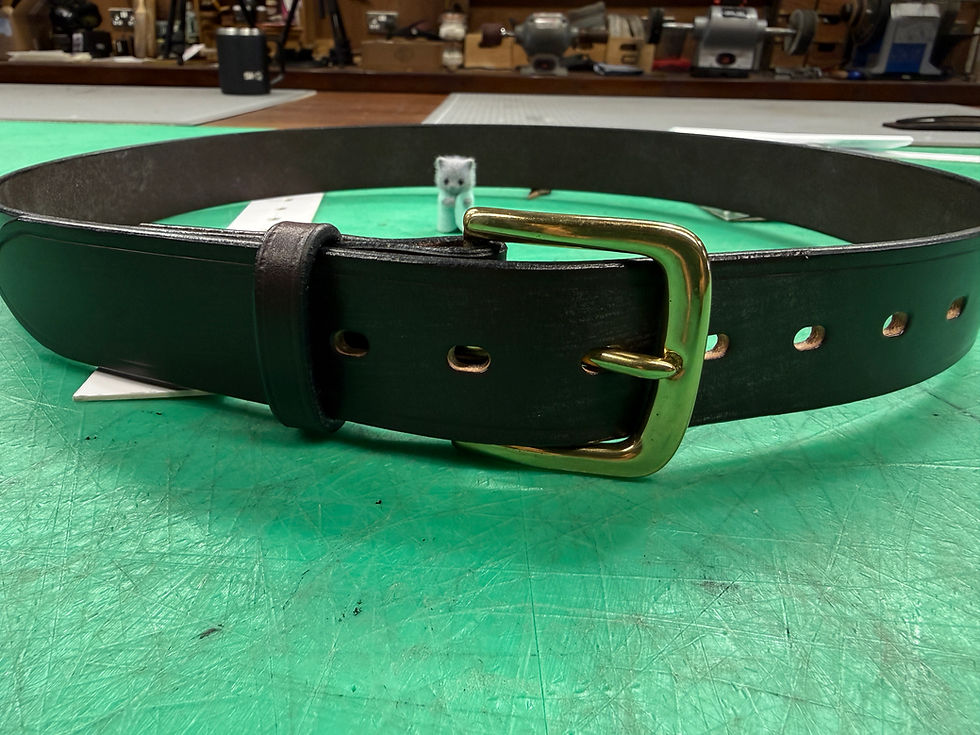
First, the basics: length and width. Then came the leather. I went for a dark brown Havana, classic, can't go wrong. Next up, the buckle. Brass or steel? Brass.
Simple choice… until Nigel produced six different brass buckles. At that point I could definitely have done with my wife's input. In the end, I chose a Bristol brass buckle.
Then came the keep, the small loop that holds the end of the belt in place. Steel, brass or leather? I went with leather. Holes: round or oval? Oval.
Still not done. The point, the shape at the tip of the belt. I chose a super traditional English point. Finally, stitching colour. Nigel explained that traditional would be yellow, but if your stitching isn't perfect it can highlight every imperfection. As this was my first ever rodeo, we very sensibly chose black.
With all the decisions made, we moved on to creating the template. This part is absolutely critical; any small mistake here only becomes more obvious further down the line. We went into serious detail to make sure the belt was the perfect fit and that every measurement was spot on.

Once we were happy, we used a plough gauge to cut the strap that would become my belt.
We finished the day by punching the holes. A simple task, you would think, but how hard do you hit it?! I tended to err on the side of too light.
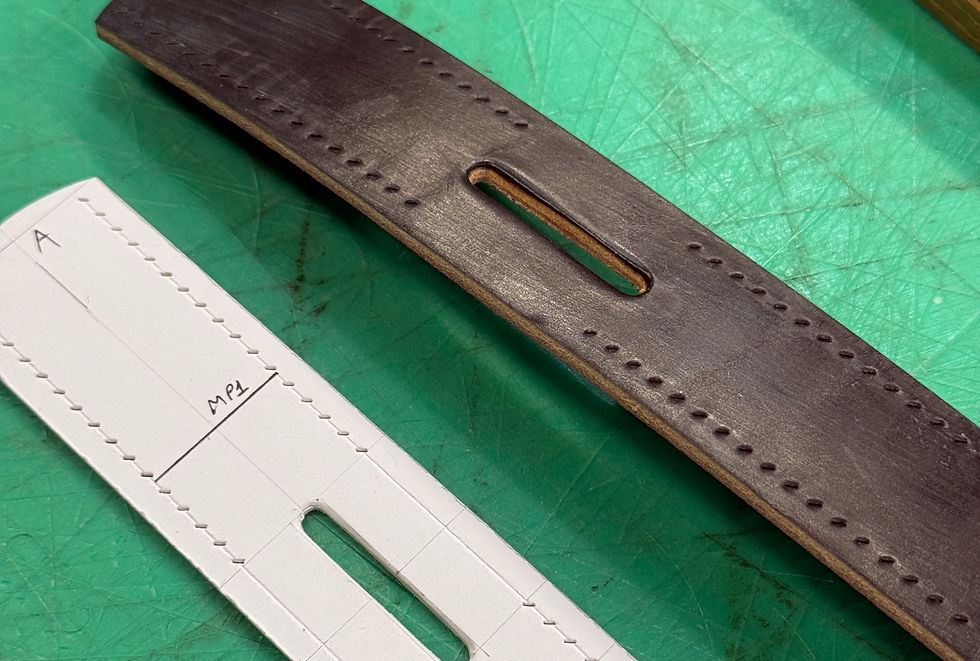
The follow-up visit brought the biggest and by far the most nerve-racking part of the whole process: creasing. After plenty of practice on scrap leather, trying different temperatures and different amounts of pressure, I finally managed to get the hang of it and did a pretty decent job.

Next, all the edges had to be bevelled on both sides of the leather before moving on to edge paint and burnishing.
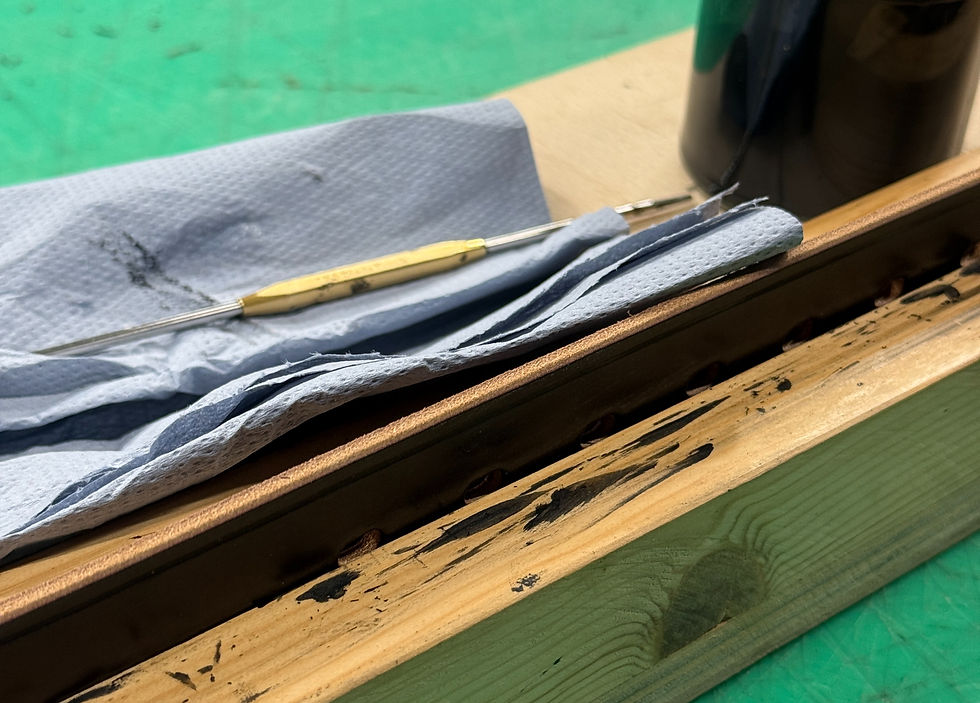
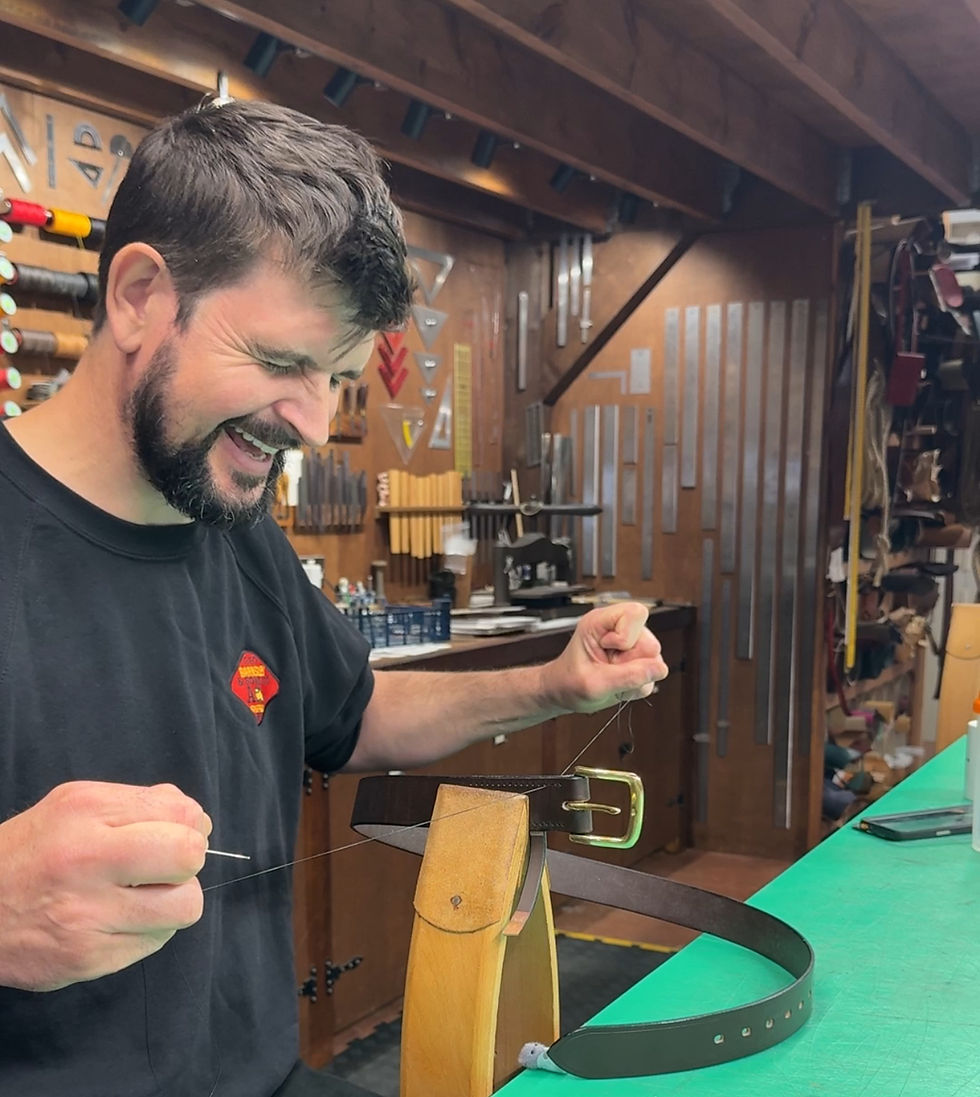
Then came the stitching. Nigel talked me through it all, including little Nigelisms like "put the jam in the sandwich" and "pew pew fingers".
This part of the make was tough and admittedly strongly led by Nigel. I definitely couldn't do it again without some notes for reference… and probably Nigel's assistance. Never mind the difficulty of getting a needle through one side of the belt, into the hole in the keep that you can't see, and out the other side of the belt!
Before this, I'd never really thought about how much work goes into making a belt. You look at one and think it's a fairly simple item, but after spending two days making one, you realise just how many little decisions and processes are involved.
It also gave me a much better understanding of the people who use our tools every day. Watching Nigel work and then trying to do it myself made me realise just how much skill goes into making something that most people probably don't think twice about.
A huge thank you to Nigel for taking the time to teach me and for putting up with a complete beginner. I really enjoyed it, and I'm pretty pleased with how the finished belt turned out.
If you'd like to learn from Nigel yourself, you can find details of his courses and one-to-one lessons on the Armitage Leather website.


Comments